
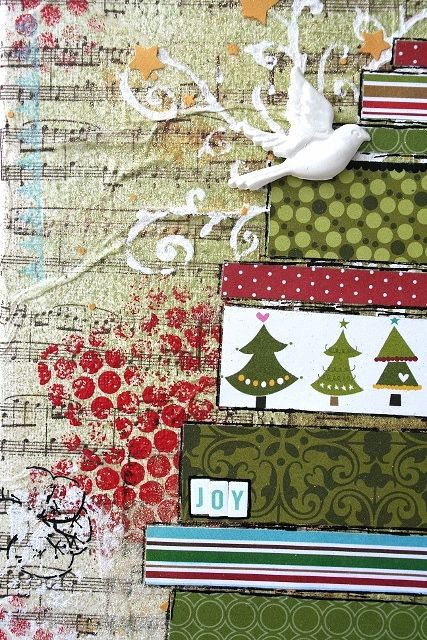
Christmas Canvas
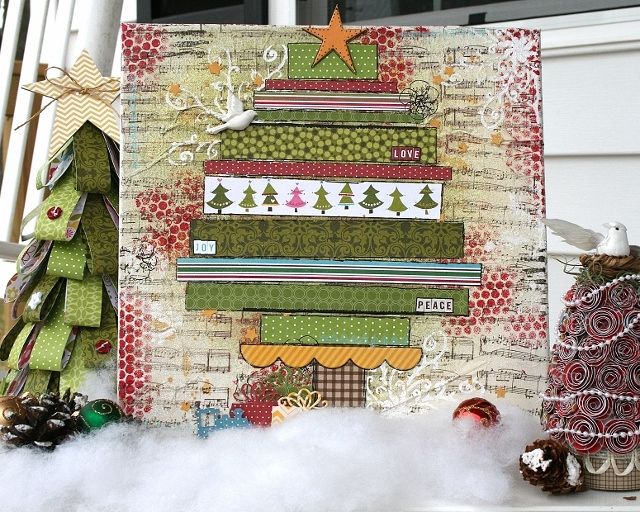
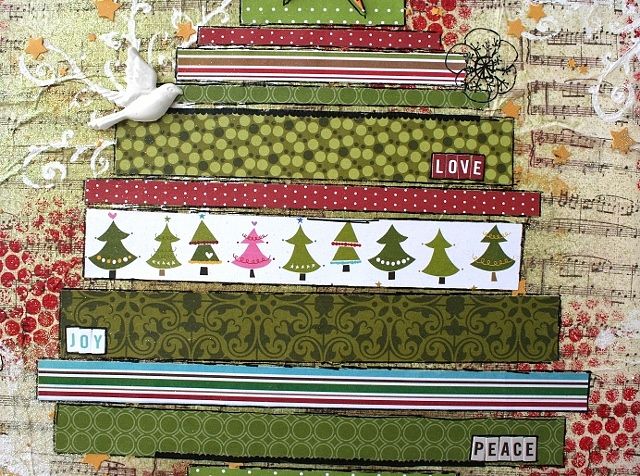
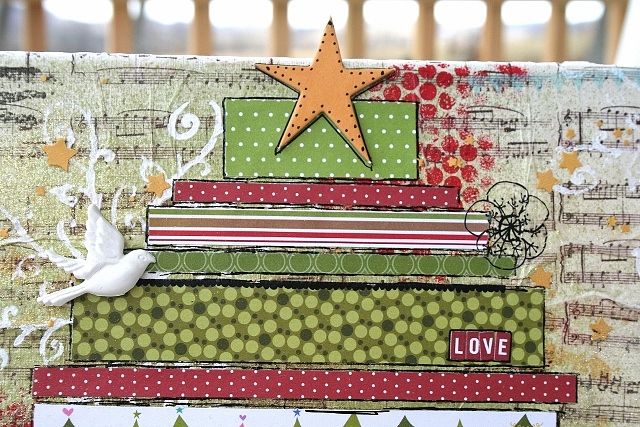
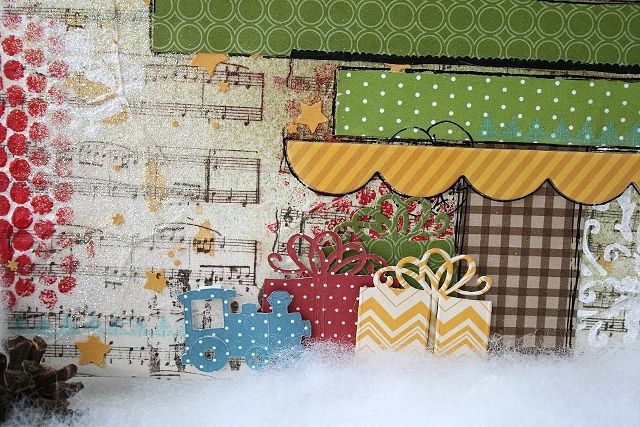
I was looking for a large piece of Christmas art to put on my mantle so I decided to make one. I've taken a few of Christy Tomlinson's online classes, so I used a few of her tricks to prepare my canvas. I first stamped a music background on tissue paper using Staz-on ink and then applied that to my 12x12 canvas. I used various mists, paints, masks, rub-ons and glitter to further added touches to my background. I then layered strips of papers on my canvas to form a tree. A few Christmas words, presents and of course a train for my little boy added those special touches to my canvas. Other than a strip of Christmas Tree paper everything was made from everyday supplies and yet they became a wonderful Christmas piece of art.
 |
| Supplies List:
Birthday Girl: Party Dress, Miles of Smiles
Thankful: Perfect Day
Sophisticates: Asparagus
Winter Wonder: Toasty, Icy
Christmas Wishes: Trees for Sale
Finally Fall: Bliss
High Five Alpha Stickers: Pink-Red, Green, Brown-Cream
Ciao Chip Everyday Elements: Stars & Hearts, Borders
|
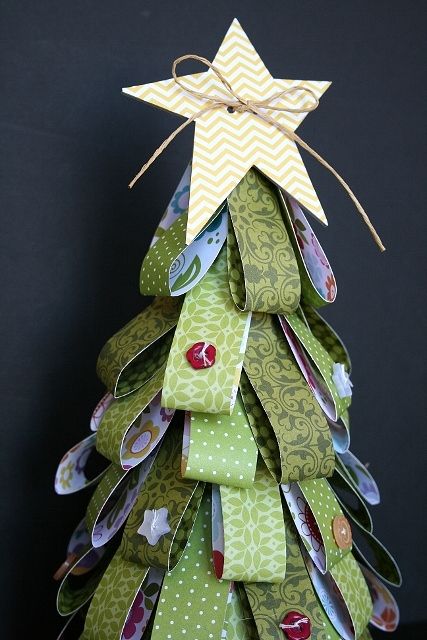
Christmas Tree
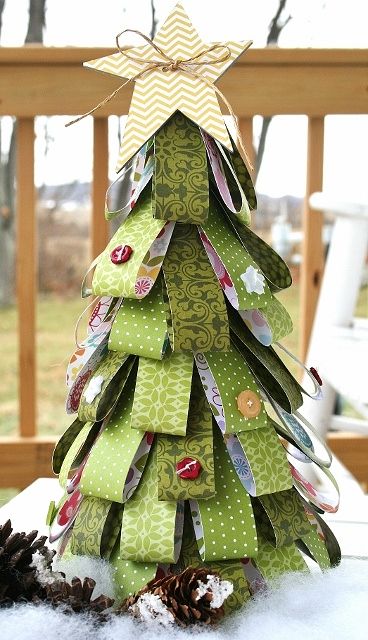
I've made these trees before and while they are really quite easy, the impact when they are done is wonderful! I cut strips of 1"x6" paper which I folded in half and stapled at the top. Taking a cone, start from the bottom and hot glue the strips on your tree, alternating as you go up the tree. This time I chose to cover a chipboard star with some paper and tie twine through the button holes. I added different buttons scattered throughout the tree for a finishing touch.
 |
Supply List:
Sophisticates: Asparagus
Birthday Girl: Party Dress, Miles of Smiles
Sunshine & Happiness: Petal Power
Button Market: Stars, Merlot Flowers, Furuit Punch, Outdoors
|
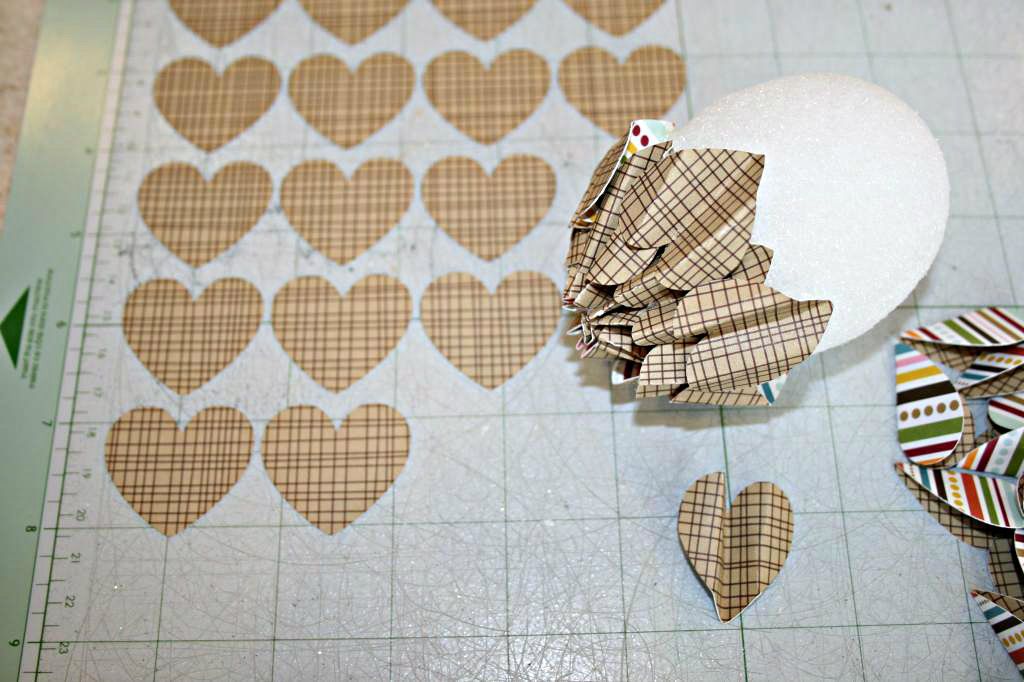
Pine Cone Ornament
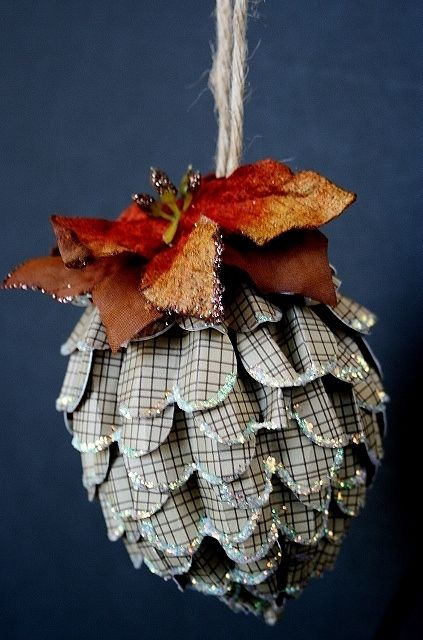
These ornaments are made from a Styrofoam egg and a heart punch - and yet combined the effect is amazing! I like to use a 1" heart punch (or die-cut machine) and you need about 1.5 pieces of paper to finish the project. Once you have cut all of your hearts, I like to fold them in a mountain, valley, mountain pattern to make them easier to cluster together. Start at the bottom of the egg and roll one of the hearts push this firmly into the tip of the egg. From that point you will hot glue your hearts around the egg shape, taking care to alternate each row, the hearts will face to the rolled piece. The perfect last minute touch is to add either a flower or large bow at the top with a hanger for your ornament and then I used Stickles (icicle) to highlight each piece of the pine cone.
 |
Supply List:
Thankful: Burlap
|
Thanks for stopping by, hope you are getting excited for Christmas now too! You can see what the other Bella DT created here.
Wow - you have amazing talent!!
ReplyDeleteI was blown away by these Wendy!!!! WOW!!
ReplyDelete