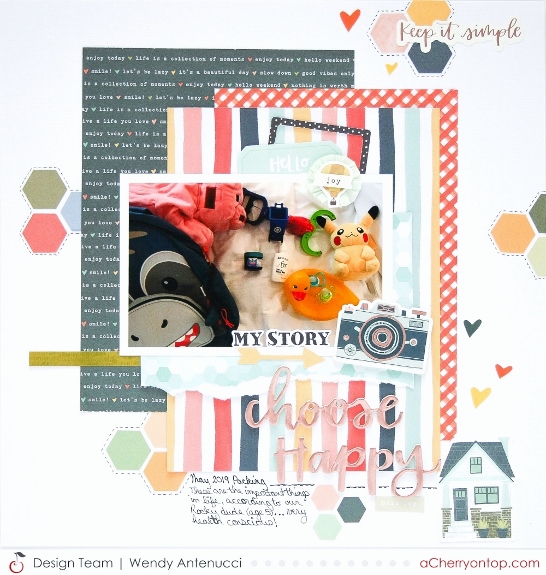
So we recently did an overnight at Mouse... I packed all of the clothes and swim gear, but my kids packed their things they needed. I didn't have time to check as we left quickly so we could start enjoying the pools...
Yep, my little man packed and I cracked up when he unloaded his bookbag at the hotel.
What in the world???
Documented using OneCanoeTwo which is one of my favorite collections.
I created this page using the brand new Cherry Box subscription kit,
check out the unboxing and my process for this page!
I created this page as an 8.5x11, but I just couldn't do it so I mounted my page on a 12x12 paper from Bella Blvd from the Home Sweet Home collection to match.
When
I first saw this system introduced I was totally in love, the colors, the
marble look, and everything always looked wonderful… So I wanted to find out, would my ColorPour
also look magical or was it a hoax?
Well it worked! My son said
it looked like an expensive piece of art, got to love that boy! So I thought I’d share a few tips of what I
discovered while I created and the steps I followed to create. I also have included a video of my first ever
pour so that you can see how easy it is.
So here are the steps to follow for your magical art…
Step
1:Cover your area
Step 2: Pour a measured amount
of each color into each separate cups.
Then I used another cup to pour the paint in layers.
Step 3:
Pour! The way you pour really
doesn’t seem to matter, the paint is magical and it really turned out nice even
though I didn’t really think about how I was pouring. I did have trouble getting the paint to the
edges and probably should have used a bit more paint, but I was able to tap my
canvas on my surface to cause the paint to flow over all the areas.
Step 4:
Glitter… or Sparkle… or leave it
alone. I’m still tossed up over this one
and which would have been a better choice.
Some tips that might help you prepare better…
Cover your area and then cover and even larger
area! This stuff spreads and while I was
able to do it on my desk, my hands were covered with paint which proved to be a
challenge.
I chose an 8x10 canvas which fit nicely into
my lasagna pan covered in trash bags so that I could work at my desk area.If you are doing a larger pour you will need
a bigger area, but it really helped putting my canvas into a container with
sides as I could let it rest on the pan to help the pouring.
I used about 25ml of each color which was
enough for the 8x10 canvas, but there wasn’t a lot of extra.
I would probably not measure the paints as
much and just pour into one measuring cup in layers, that would cut down on the
waste and mess.
The glitter/sequins/sparkles really comes out
of the containers, I would suggest pouring some in your hands before sprinkling
it on your project.
And wear gloves as it does seem to stick
around a bit.Also I would remove any
jewelry also, I sure will next time.
I hope this tutorial has answered any questions you have, please
feel free to leave anything else in the comments and I would be glad to answer
them for you. So, what do you
think? Do you want to try making some
art?