Supplies:
Glass Ball ornaments
Mist product
paint
Queen & Co felt (or other sticker products)
rub-ons
Hot glue gun
Steps to create my ornaments:
1. Take off the tops and trim any sharp pieces.
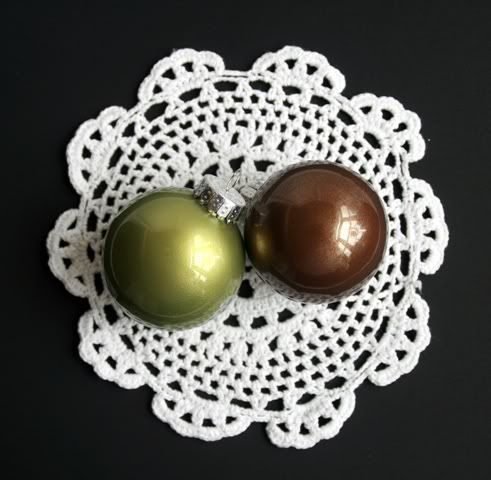
2. For most of my balls I painted them before altering them. You want to squirt a little paint into the ball and then spray some type of mist, now put your finger over the opening and shake! Keep going until the ball is covered in color - you don’t want to put in too much paint, but you can always add more. (I used FolkArt - Metallic Peridot and Black Cherry; DecoArt - Oyster Pearl Metallics and my favorite that didn’t need any mist added Rich Espresso Elegant Finish Metallic Paint; and Iridescent gold glimmer mist)
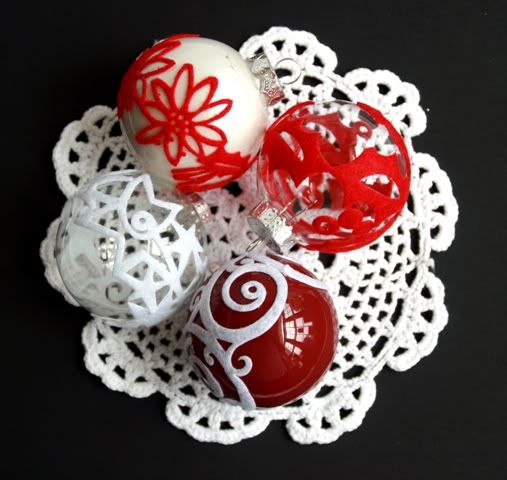
3. Now, for these balls I adhered Queen & Co felt onto the exterior of the ball. Keep your scissors nearby b/c you will need to nip the felt in certain places to make it fit around your ball.
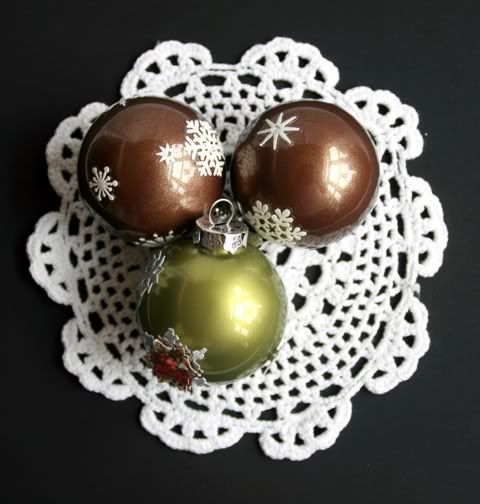
4. These ornaments are decorated with stickers (you could also use rub-ons, but I was out of Christmas type ones). You could use your hot glue gun if you want; my white ones stayed without any trouble, but the snowflakes needed some extra help.
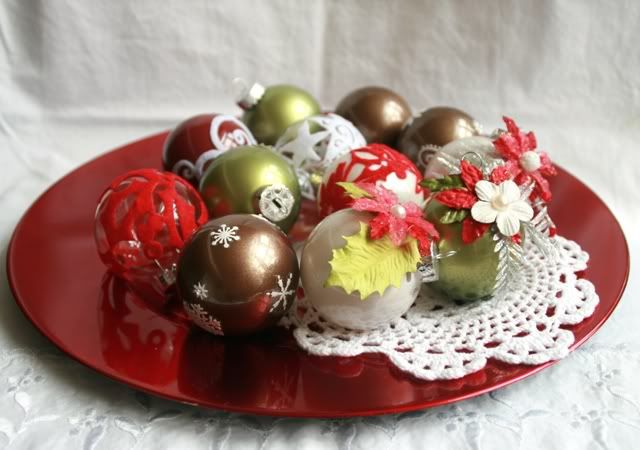
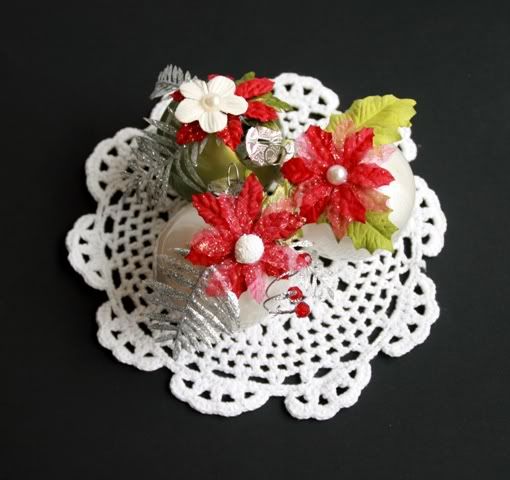
And finally, my favorites!
5. Grab your hot glue gun and anything you want and glue it onto your ornament!
Hope you try these - they are really so easy and gorgeous!


These ornaments are so pretty! I just love the colors and patterns.
ReplyDelete