
I was on the Pebbles blog a few weeks ago with this layout
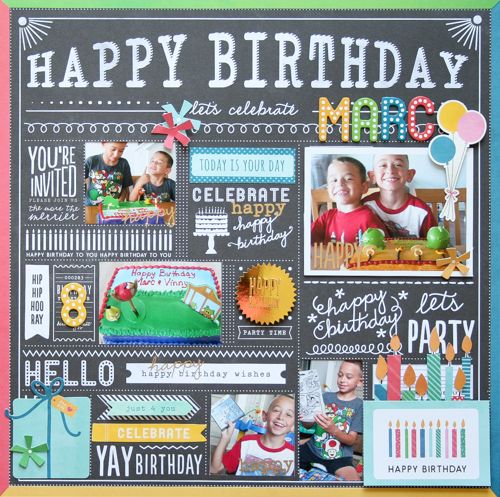
I had a quite a few comments on this layout and so I decided to make another with a step-by-step tutorial on how to make a similar layout if you'd like.
Here is the new layout that I created
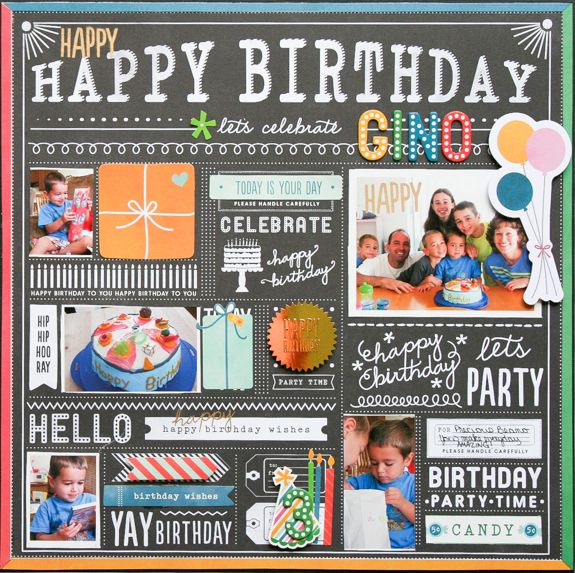
and here is how I created the layout
1. This is how my layout started, the gold birthday seal fit perfectly in the center and I wanted our family picture to be the star of the page and the wallet size fit right into the top corner. These were both adhered to the page using pop dots for dimension.

2. My next step was to find pictures that fit in some of the spots - I then cut out the paper so that my pictures could show through from behind. I used some mini wallets and wallets that needed cropping.

3. I then added in some stickers and die-cut shapes that again fit into the spots - these were mostly adhered on the page instead of under.

4. I added in his age and some candles to document the year in a fun way and to fill another "block" on the page.

5. The colored thickers created with this collection work wonders on the black page!

6. My page was finished but still lacking enough color so I cut strips of colored paper for the edges.

7. I wanted to miter my sides for a more finished look. I adhered all of my strips leaving the edges loose and then I cut the diagonals to give my corners.

and some finishing details


If you have any more questions, please let me know and I will be glad to answer them for you.
Great tutorial... you make it look easy. I will be scrap lifting this layout for my son's 14th bday in Sept. I would love to get my hands on a pack of this sheet... maybe at the scrapbook expo in Aug :)
ReplyDeleteI love you step by step! great layout!
ReplyDeleteGreat tutorial, it really helps to see it come together. I'm always a little at a loss with these types of papers!
ReplyDeleteLuv this!
ReplyDeleteI enjoyed seeing your creative process!! Esp love the colored edges...really big impact!!
ReplyDeleteThank you for sharing an amazing LO using multiple pics with this adorable collection in my stash!!
ReplyDelete