
I hope you all enjoyed our first edition of the PaperHaus magazine - I loved it! Here was one of my projects that I created for the magazine, enjoy!
 |
| Materials Used: American Crafts foam adhesive, Fabric-Tac, Fiskar punch, Cheery Lyn Designs, Cricut Expression, Cricut Home Decor cartridge, American Crafts Chap and NightFall, Tim Holtz Configuration box |
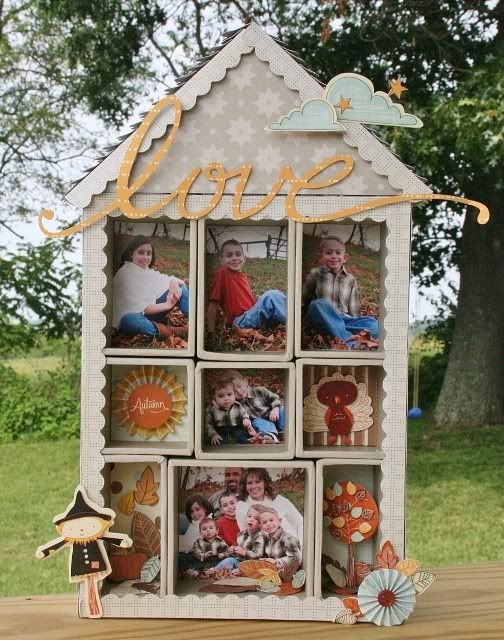
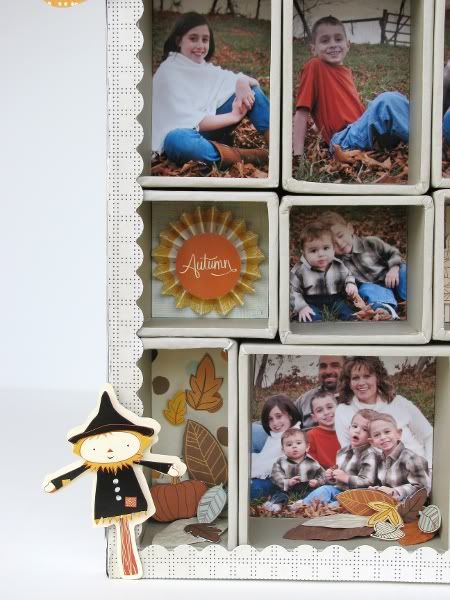
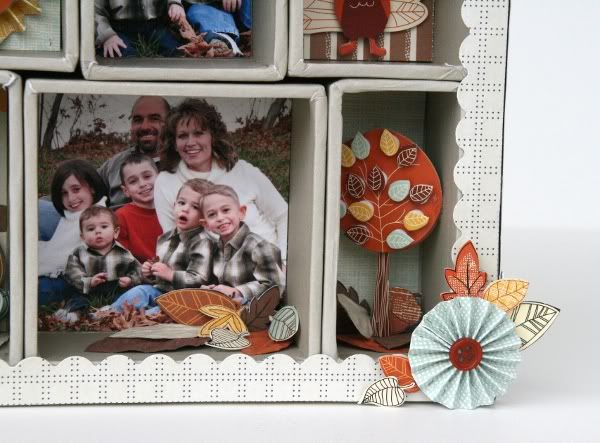
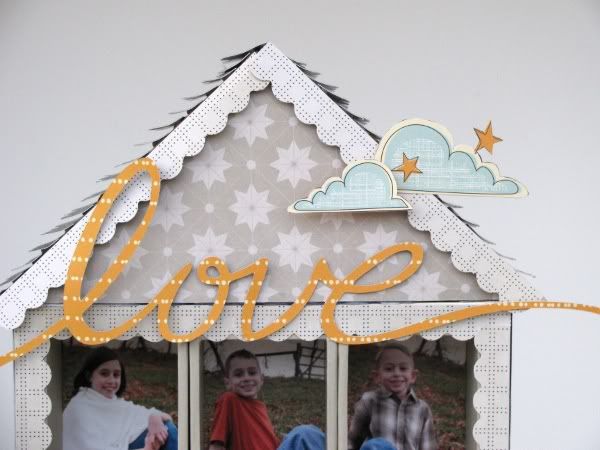
I have been hoarding a few scrapbooking items lately and I finally decided to use them; this is the project that I created using my Tim Holtz Configuration box, American Crafts Chap line and the NightFall line. I printed out pictures that I had taken during our yearly family photo session and cut them to fit the boxes. I knew I wanted to use the scarecrow and tree stickers that American Crafts produced with their fall products, but I couldn’t quite get the configuration to work to my liking. I’ve found with off the page products I need to hold the product in my hand and continue to rotate the product until a light bulb goes off – I love to look for a different way to use the products. As I was turning the configuration box around I finally spied a house and after rearranging a few boxes I had the perfect house. I added in the pop of yellow in the Cricut cut word Love and so was born the Love House – you can imagine with 7 of us things tend to be a little chaotic in our household, but as long as we remember to love one another things are pretty good!
I began this project by assembling my different boxes, some just have a picture, some patterned paper and stickers, and others a full scene. I then mod podged the paper around the sides of my house to finish my house. This still left the edges unfinished so I used my Fiskar border punch to put a decorative edge around my house and to further stabilize my project. I also cut some fencing to put around my house because all houses should have a white picket fence in my mind!
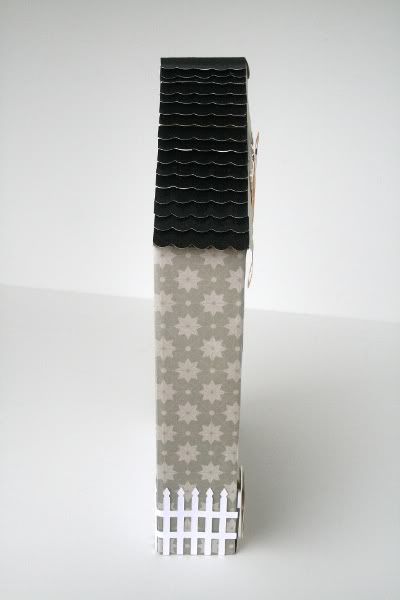
To make the roof, I cut triangles of cardboard to fit the
width of my house and then ran a long thin piece of cardboard, the depth of my
house, over the edges of the cardboard.
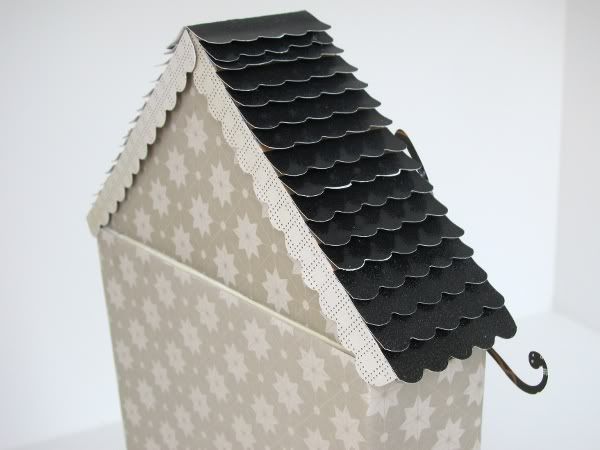
I covered the triangles with my house pattern and then hot glued the
roof section to my house.
My roofing shingles were again cut using my Fiskar border punch on the American Crafts chalkboard paper. I cut small sections to cover the cardboard roof and rolled the edges up slightly so that you could see each layer of the roof. I covered the edges with another scalloped border.
To finish up my project I hot glued the rosette, scarecrow,
clouds and love word onto my house.
This is so awesome...remember seeing in the magazine. I was wondering when we could post our projects.
ReplyDelete