Showing posts with label Wall Sugar. Show all posts

Monday, November 26, 2012

Time to countdown for Christmas!

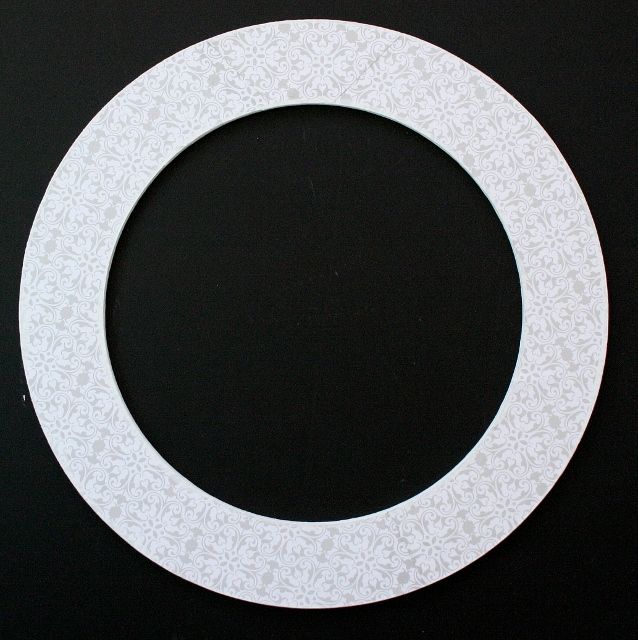
With little ones in the house and a Christmas tree up and decorated the question every day is ... when is Christmas? So this year when I was sent the large wreath base from Wall Sugar I decided it was time to make an advent calender!

Wreath Base - Large
I began by choosing my favorite Bella Paper to cover the base of my wreath and I dry brushed some white paint around the edges.

 
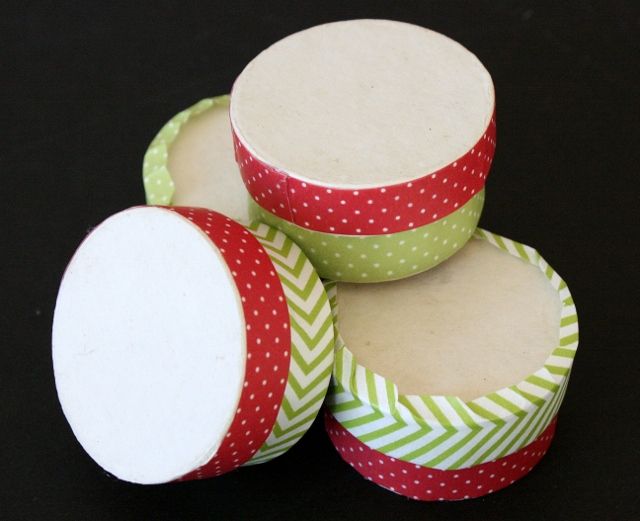
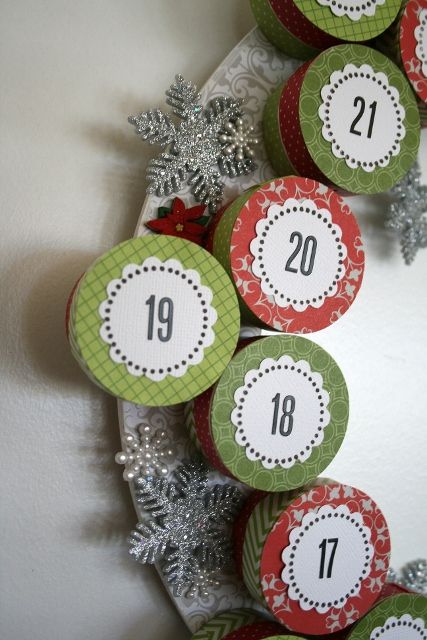
I then had purchased some paper mache circle boxes (mine were 2" which were a little large to fit, 1.5" would probably work better, and you can also use the plastic bead containers) which I covered with some Bella designer tapes.
 
 
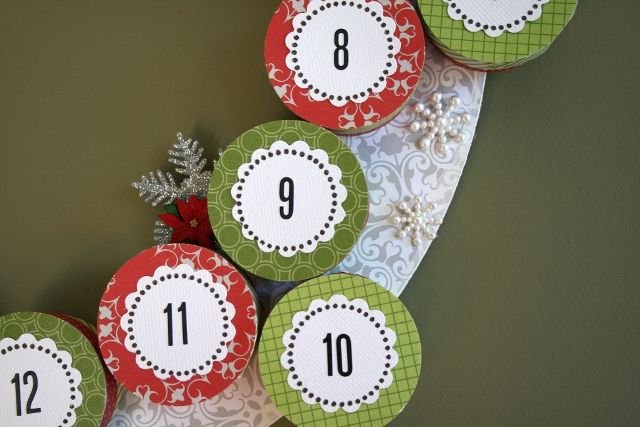
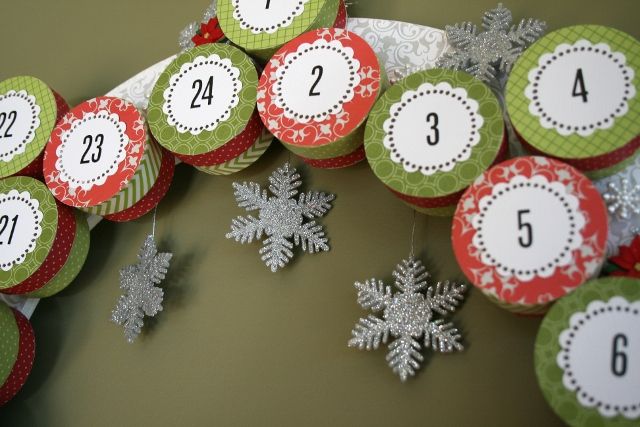
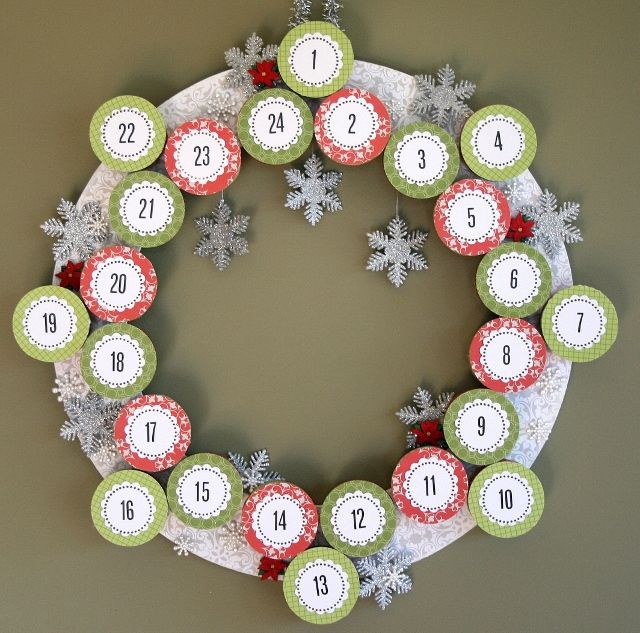
I then covered each lid with a 2" circle of Bella papers and finished with a white scalloped punch where I used a stamp for the border and numbered all the boxes.  Then I began placing my boxes around my wreath (this took awhile) in a configuration that fit - I had planned to just circle around with the boxes, but a snowflake emerged instead!  LOL
 
 
Then because I totally love my hot glue gun, I grabbed a few Christmas items that I have in my box and began adding some special last minute touches, I decided to stick with the snowflake theme and then add a few pops of red.


And here is my final project that I just need to fill up with treats for my kids!


Thanks for stopping by and thank you Wall Sugar for a great product to create with!

Friday, October 19, 2012

Wall Sugar Fall Hanger


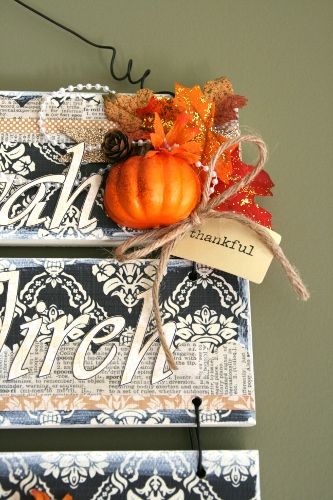
Hi, Wendy here, I received the 3 piece - interchangeable hanger to work with from Wall Sugar this month and we were challenged to decorate with a Fall/Halloween theme.
 
Here is what arrived at my house and I had already chosen some Teresa Collins Vintage papers to use, plus a few fall items from my local Michael's store.


Hanger - 3 Piece Interchangable


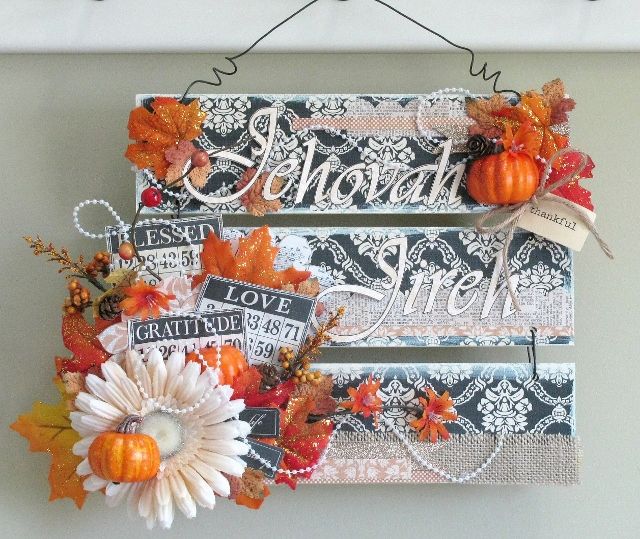
And this is what I created...


Step 1:  Cover the boards with paper of choice.
Step 2:  Paint the edges of the board and the paper to give them an antiqued feeling.
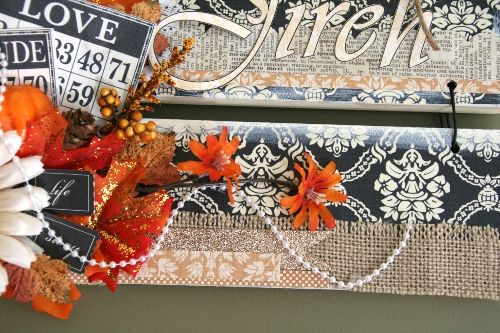
Step 3:  Adhere strips of paper and burlap for interest.
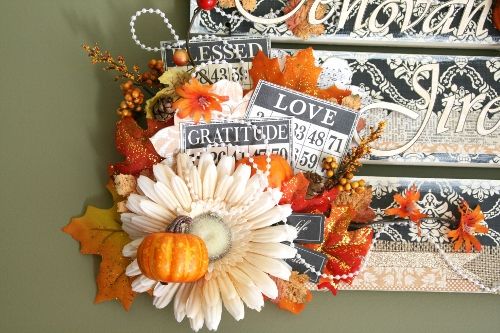
Step 4:  Adhere Bingo cards and large daisy.
Step 5:  Fill in with leaves, other flowers, and pumpkins.
Step 6:  Add the pearls and words.


I love the colors of fall, but more than anything I love the time we take as Thanksgiving draws near and the end of another year to focus on the goodness of the Lord in my life. When I saw these bingo cards I knew that I wanted them to be incorporated into my project as I am filled with Gratitude for all that God has done, I am Blessed beyond anything I could have ever dreamed and it is all because God loves us. Jehovah Jireh is Hebrew for God is my Provider, this name of God is first introduced in Genesis 22. For my family and I this is who the Lord has been this year to us - our Provider.

Sunday, August 19, 2012

Things to share

I have quite a few projects that I've been working on lately, some that are still a secret and some I can share with you today.

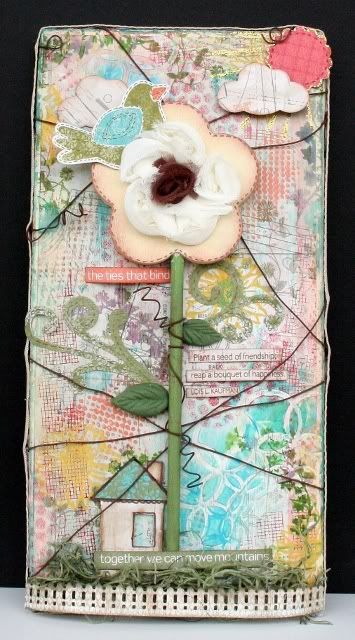
So back a few weeks ago I shared my project Dreamland (click here) using Wall Sugar's Perfect Posies.  If you noticed in that picture it showed 3 flowers and I only used 2 on my project, but I had another project that I had imagined.  So I finally was able to work on my final flower project which I made for a dear friend. 

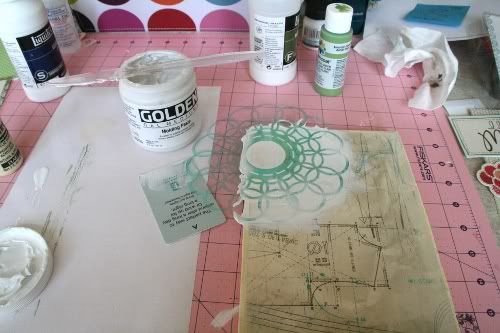
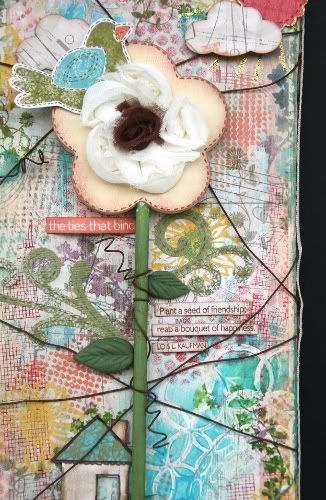
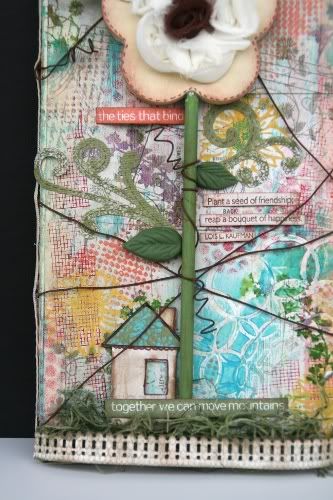
Here are some close-up shots and one in the process shot:

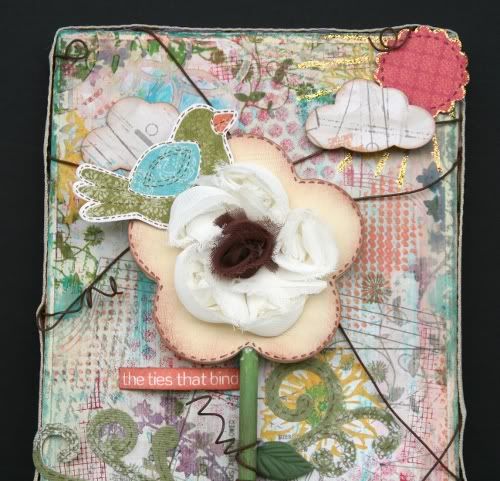
I covered a 6x12 piece of wood in Close To My Heart Stella Collection papers, modeling paste, CTMH inks and some stamps.  I then adhered my painted flower to my canvas, some CTMH fabric stickers, clay leaves that I made from a mold, a Maya Rd chipboard house and wrapped wire around my project.  I have never actually used wire on my projects, totally new for me, but I love the added texture!  I used moss for grass and punched a fence border out of the Stella papers.  I finished my canvas by adding a CTMH stamp that I cut the saying apart to adhere on my project and again some words that run along the bottom of one of the Stella papers.


We had a cupcake party for this dear friend and everyone loved these new cupcakes I tried so I thought I would share the recipe (Family Circle, June 2012, p62)

Snickerdoodle Cupcakes 
1 white box cake
1 cup milk
1/2 cup melted butter
3 eggs
1 tsp vanilla extract (I actually used the real extract)
2 tsp cinnamon
Mix and fill your cupcake wrappers about 2/3 full.  Bake at 350 for 15 minutes.

Cinnamon Buttercream Frosting
1/2 cup softened butter - blend for about 30 seconds
4 cups 10x sugar
3 Tbls milk (this is too runny - try 2 1/2)
1 tsp vanilla (imitation extract here)
1 tsp cinnamon

I just made another batch of these because they were so good, hope you enjoy!

And finally, we've been cropping at Memorable Seasons this weekend and the inspiration is totally flying everywhere!  I've gotten 4 done and 2 are almost ready, and so many ideas for the rest, now to get the time to work on them!

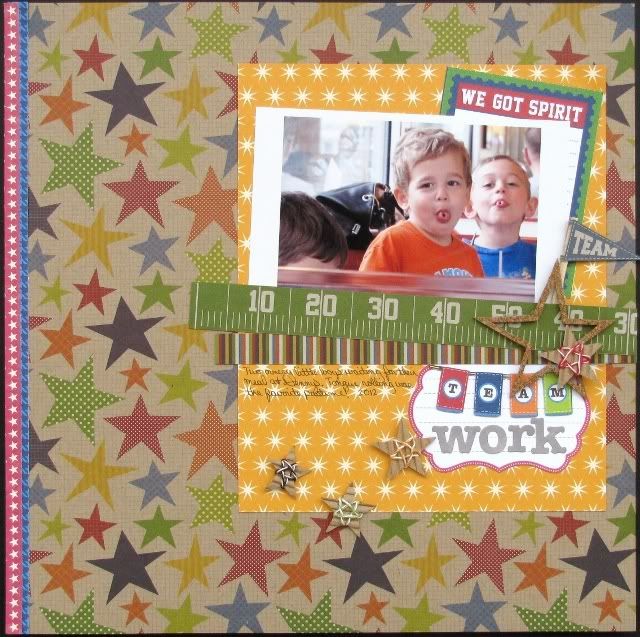
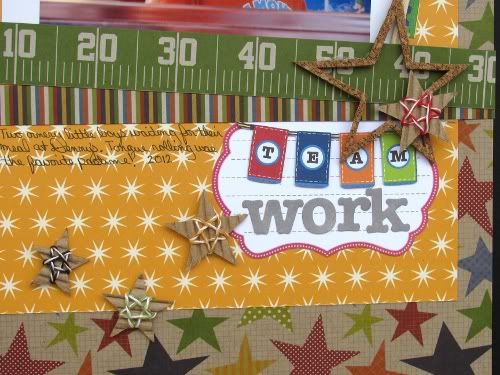
Team Work was made for a chipboard challenge - I used some Jillibean Soup inerts from their frames and die-cut some stars which I wrapped in twine, all products were Jillibean Soup.


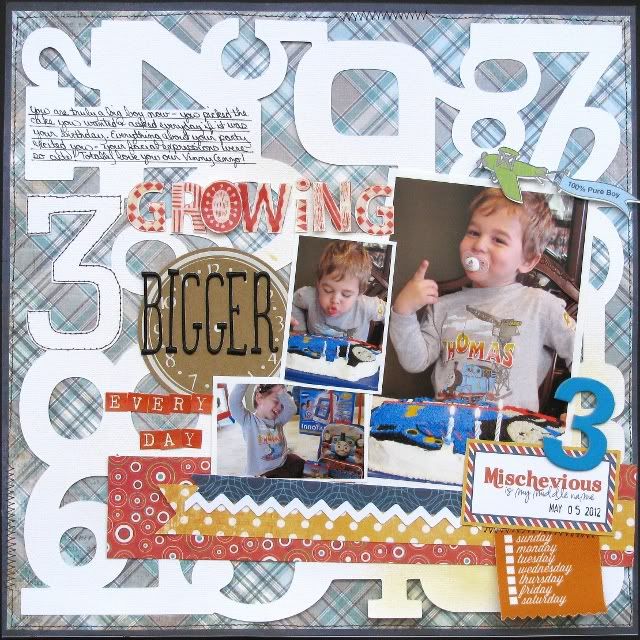
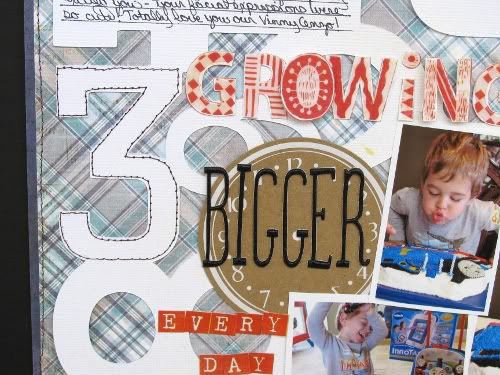
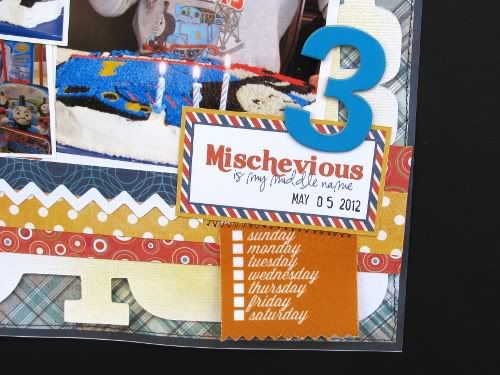
And this layout was made for a number challenge.  I used some Echo Park and my CTMH Art Philosophy cartridge to make this layout of Vinny's 3rd birthday.


Thanks so much for stopping by, I hope to get back here soon and show some of my other layouts I've been busy working on!

Wednesday, July 25, 2012

Dreamland

I was sent a pack of the flowers from Wall Sugar to work with this month, Perfect Posies.

Set - Perfect Posies
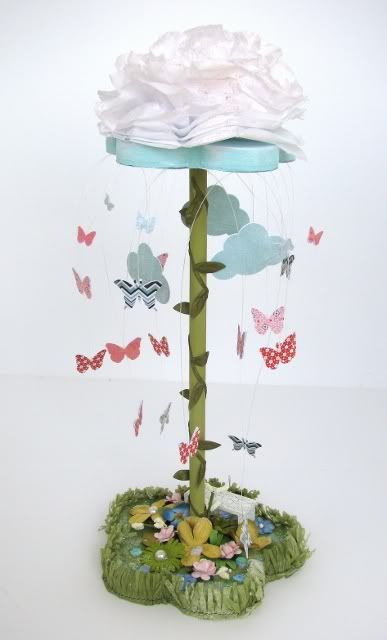
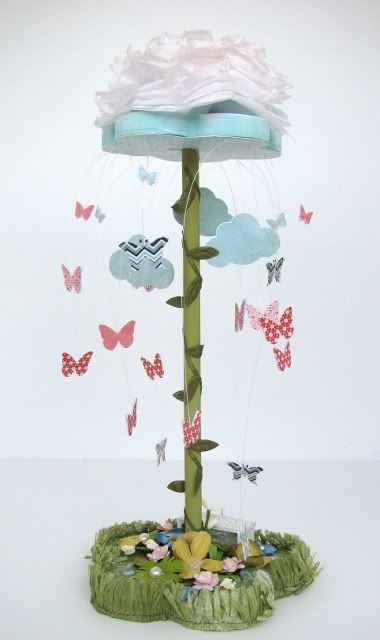
As I turned the flower pieces over in my hands looking for my inspiration I had this wonderful Ah-ha moment and knew exactly what I wanted to create, A Butterfly Dream!


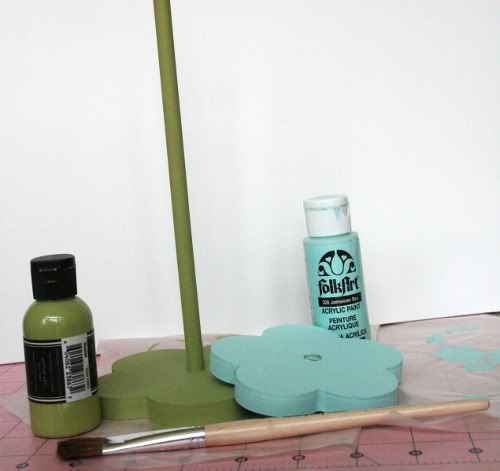
I began by painting my pieces - one for the sky and one for the grass.


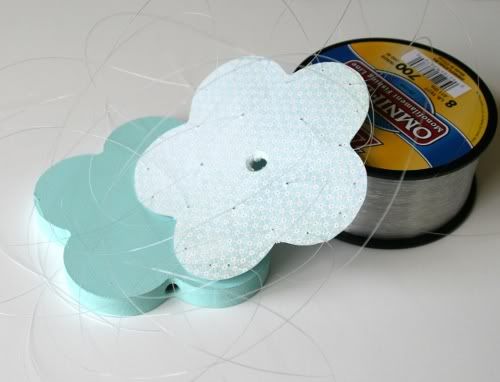
I planned on butterflies dancing from the sky so I poked some holes in a piece of paper that I had cut out and ran fishing wire through them.  I was then able to suspend my butterflies from my "sky".


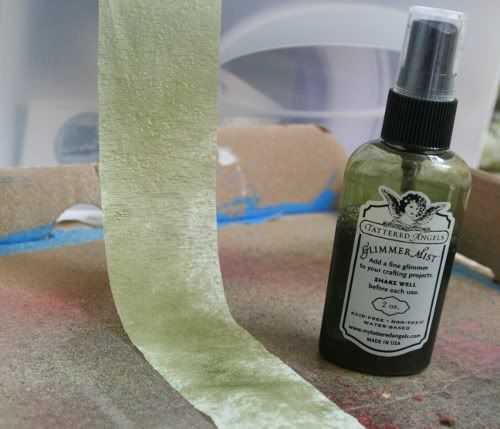
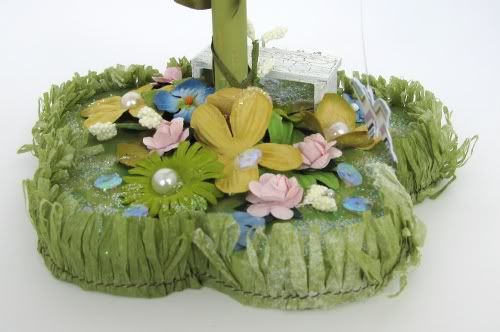
Next came the grass that I envisioned, but how?  So I found some white crepe paper in my stash and sprayed it green and let it dry.


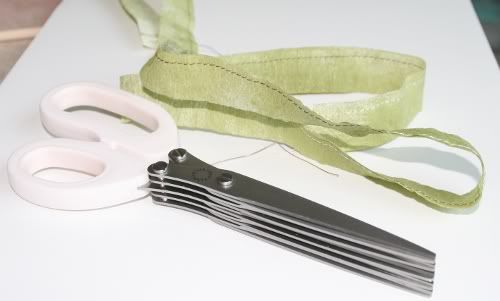
I then folded the open edges together on my crepe paper and sewed them.  Using my Martha Stewart fringe scissors I then made grass being careful to not cut the part I just sewed together.


I added some more paint to my green area to shade the bottom, hot glued my grass around my base, I then chose a few Prima flowers that fit the colors I was working with and adhered them to the base.  I added pearls, glitter and sequins for a finishing touch.  I wrapped some Maya Rd ribbon around my pole.


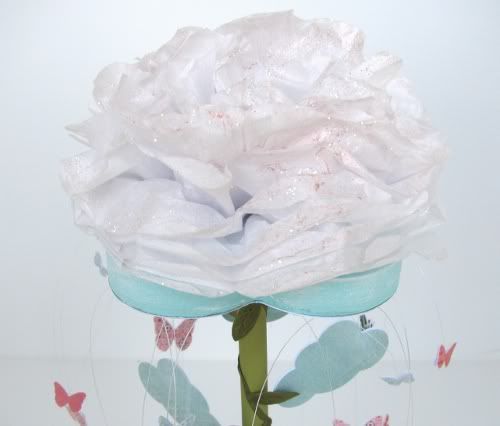
I then made a tissue paper flower/cloud which I misted and sprinkled glitter on.


And finally, here is another look at my finished project...


Thank you all for stopping by I hope you enjoyed this tutorial and try looking at wooden projects in a new way - there are sooooo many possibilities!  If you are looking for more ideas check out the Wall Sugar blog this month as the other DT members show their projects and take a look at the class below!

I am also SO excited to tell you about an awesome, new class using the Wall Sugar wooden flower set, that is now available for purchase at The Art Studio! This self paced class is a steal at only $9.99! It's a self paced class, so you get the benefit of accessing the class whenever it is most convenient for you along with email access to instructor and the online group! Also, as Wall Sugar fan, I'm giving you a 25% discount on your purchase of our wooden flower set used in this class.

To purchase the Perfect Posies Self paced Class go
HERE

To purchase the Wall Sugar wooden flowers used in the class go HERE
After entering your paypal info, enter discount code: posies25
(Discount available online only, not valid at retail locations)

Here's some info about the class:

Do you love flowers but don’t have a green thumb? No worries. You’ve come to the right place. In this class, we’ll use the 3-piece wooden flower set from Wall Sugar to create the perfect posies – no dirt, water or maintenance required!

As the owner of Wall Sugar, I’m excited to share my knowledge of how versatile wood can be. In this class, you’ll learn how to alter and decorate this bare flower set by using multiple techniques, including sanding, heat embossing, painting, paper piecing, working with inks, and fabric manipulation.

I’ll share some great tips on what types of paints, adhesives and other embellishments are great and not-so-great when working with wood. I’ll also show you how to decorate a metal pot with faux grass for your beautiful flowers to rest in. Thus, creating a gorgeous home décor project that can be changed up for any occasion!

You’ll be getting so many ooh’s and ahh’s from family and friends that you’ll want to slap their curious hands away. You’ll also see how incredibly the wooden flowers stand up compared to less sturdy materials such as paper and fabric.

Tuesday, June 12, 2012

It's official!

I am part of Wall Sugar's new Design Team and I am thrilled! I thought I would share my projects that I created for the call; my projects were created using the following items:

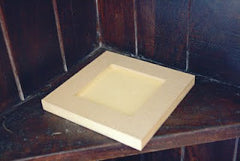
Bare Block - Wired
Bare Block - Wired
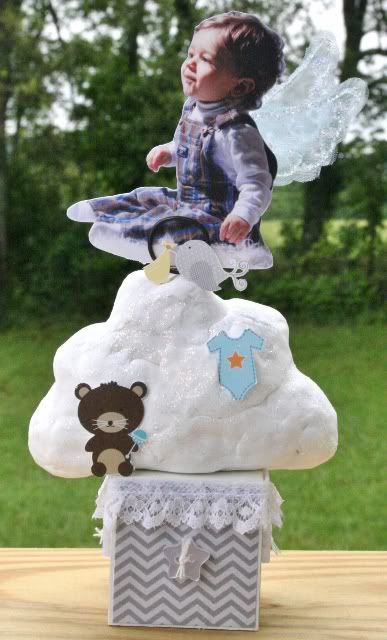
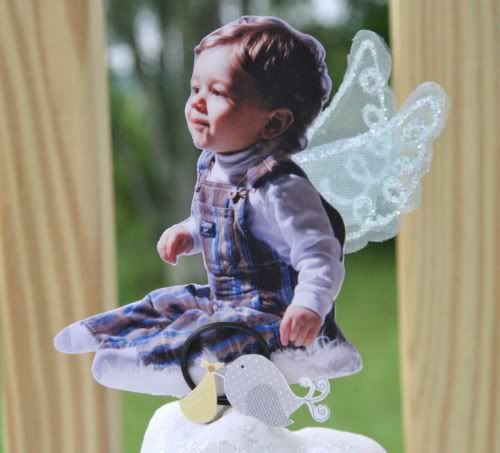
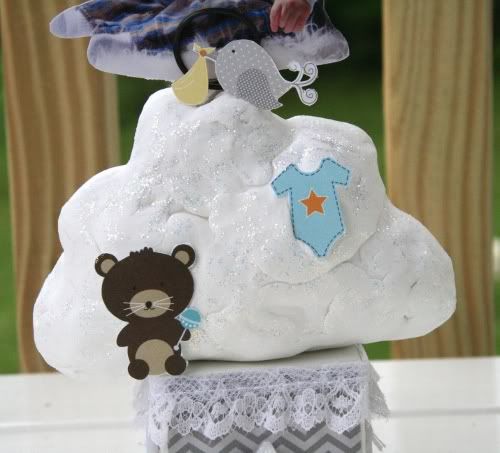
I used some Bella Blvd products to cover my block and cloud.  My cloud is made out of a product called Paper Clay which is a light weight clay that I molded around aluminum foil.  I covered my cloud with a fine layer of Stickles to give it a shine.  The wings that I attached to my little one are from Prima.


Set - Coaster
Coaster Set
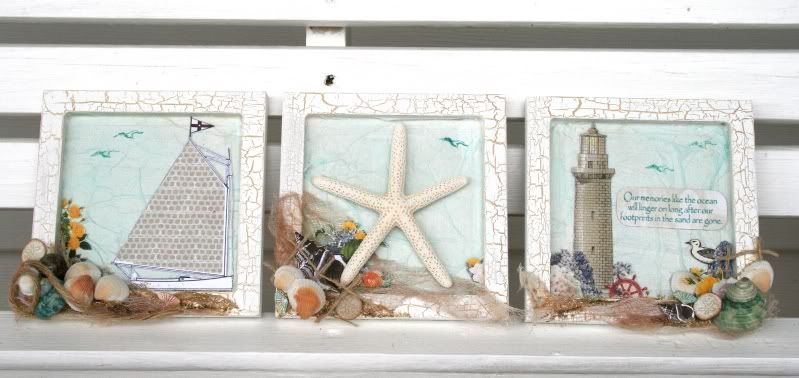
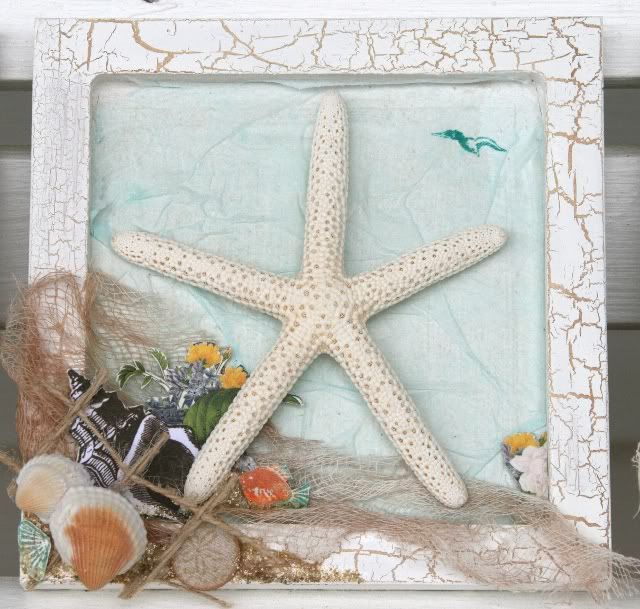
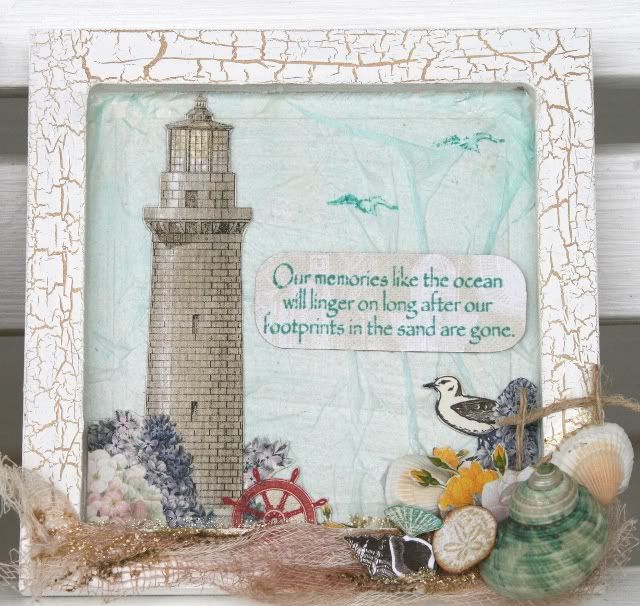
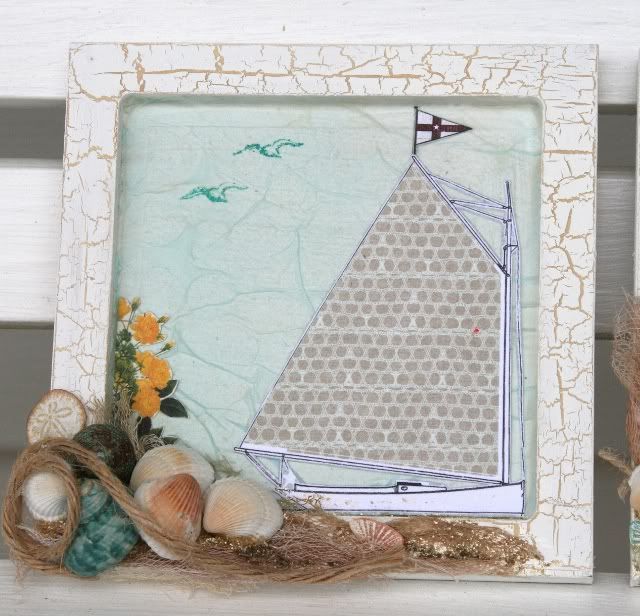
I painted the coaster set with gesso in the interior part.  On the edges I painted a cream color and then I used the fabulous Martha Stewart weather medium - wow, awesome stuff!.  I finished the edges with a coat of white paint.  I adhered tissue paper to the interior of the frame that I had sprayed with my Tattered Angels Glimmer Mist.  Using my Webster's Pages stash, Crafty Secrets stamp set, Close to my Heart stamp set and ink pads, cheesecloth sprayed with Tattered Angels and various shells I completed the frame set.


As you can see I love to alter different items with my scrapbooking stash, so I am looking forward to completely decorating my house in the months to come!  Thank you Wall Sugar for this chance.